iFix
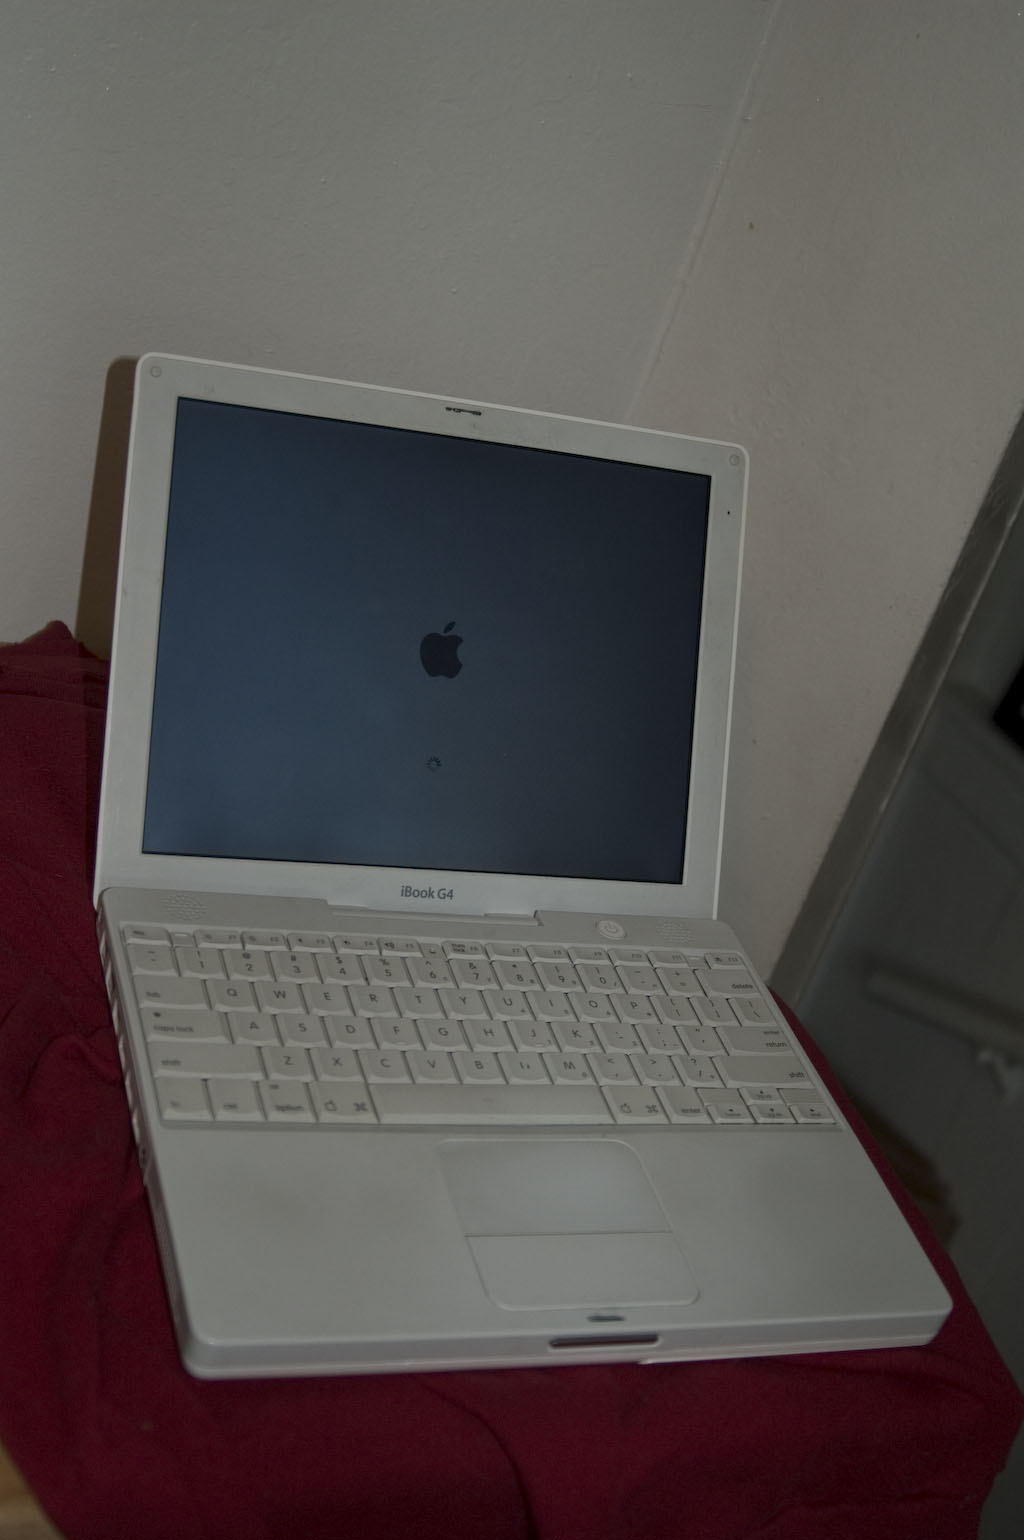
 The iBook was always just a little bit loose. That’s how I bought it. Everything in working order, but cosmetically you could see some gaps telling the story of an occasional brush with gravity. The pieces just didn’t fit together the way they surely did when they came from the factory.
All that changed when it slid off the drawing table in my studio and crashed into the floor.It would still turn on, but the screen and its housing would no longer stay up on its own. I had to prop the screen up against something in order to keep an angle that I could read the screen from. Typing on my lap was right out.
I thought about replacing the iBook, and I still might. I have my eye on the ModBook, but that’s a whole ‘nother story. Since I don’t always use the iBook daily and I don’t keep important documents on it without copying them to my desktop machine, I figured that repairing the darn thing would make a good project.
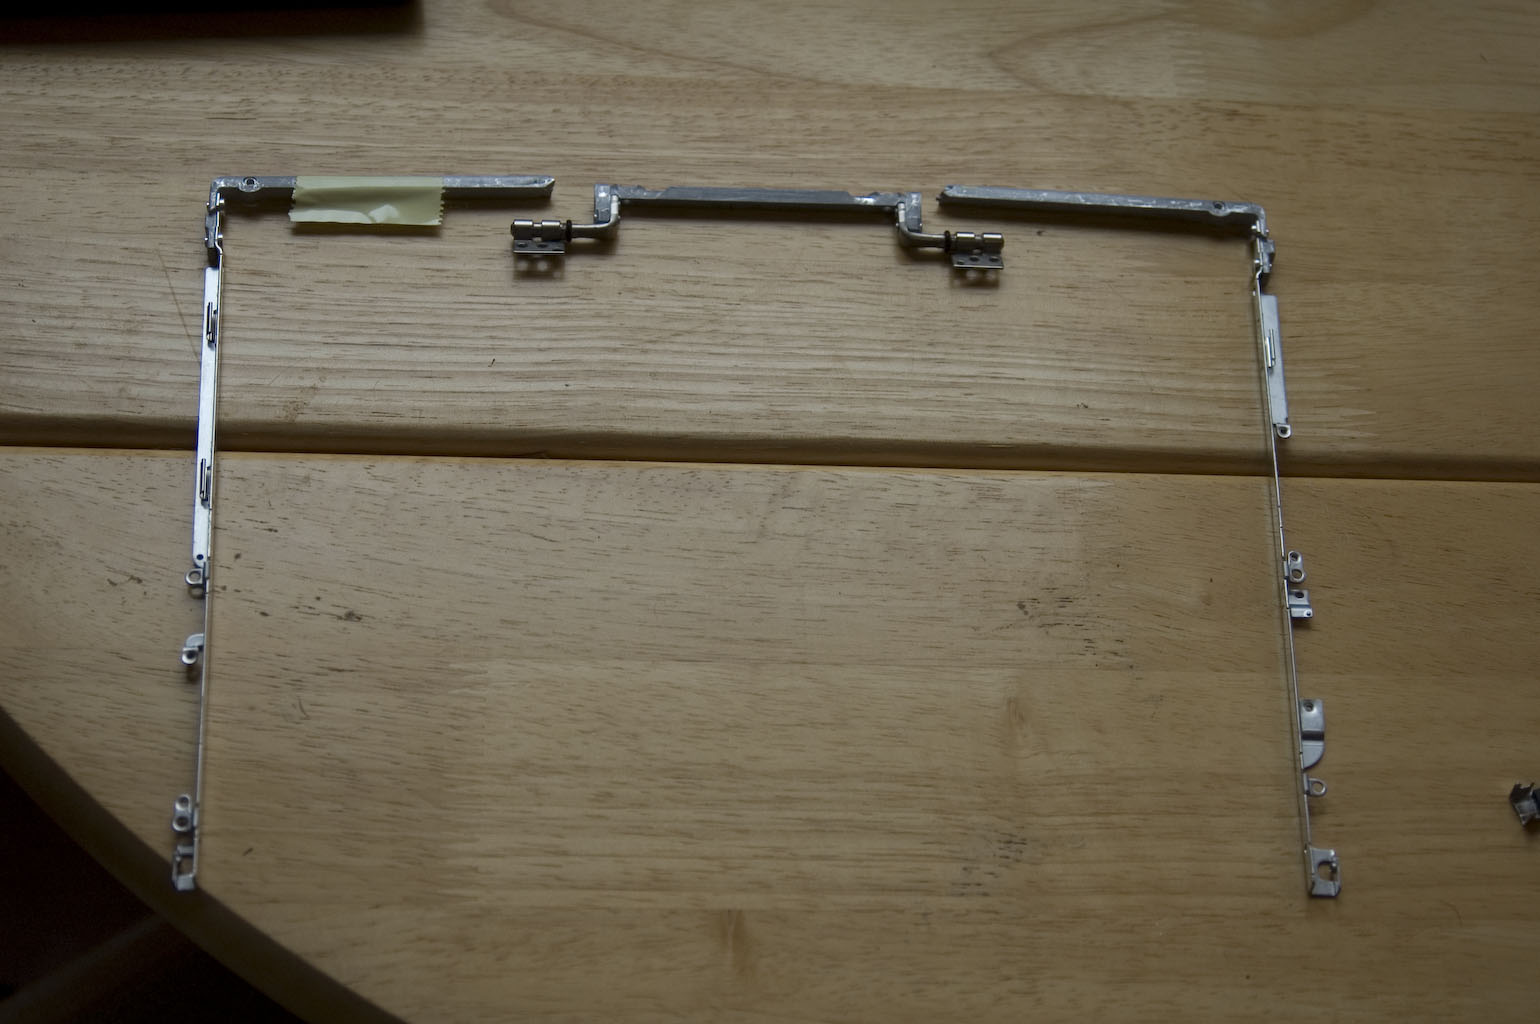
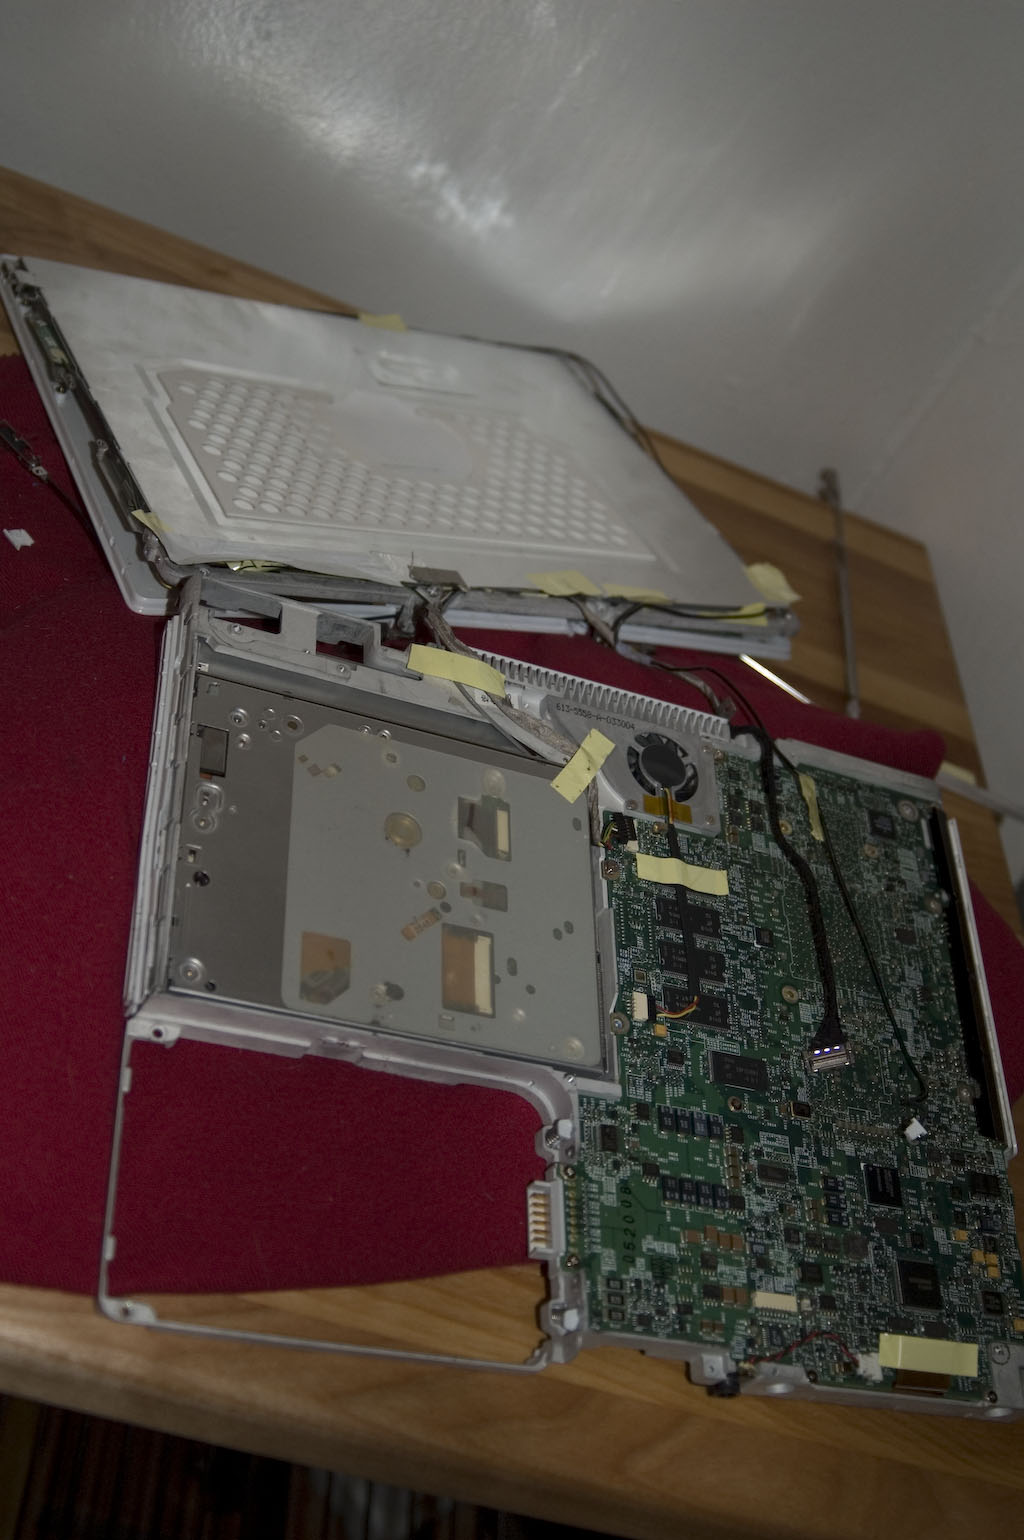
It turns out that the iBook has a hinge and brace that extends up into the screen housing behind the bezel. Mine was in three pieces and needed to be replaced by just one. The hitch was that this piece holds the LCD in place and has wires snaking all around and through it. As it turned out, the other hitch was that the entire case would have to come off of the main section of the laptop in order to replace the hinge. The keyboard had to be removed, as did the hard drive and just about everything else attached to the motherboard.
Spare parts came from eBay and instructions came from http://www.ifixit.com/Guide/Mac/iBook-G4-12-Inch/Hinge-Grill/83/19/Page-1/Battery. If I knew how complicated a procedure it would turn out to be, I probably wouldn’t have attempted it. But once the parts were obtained to replace the hinge, I’d crossed the Rubicon. So I cleared off some space and went to it, one step at a time, following the instructions as methodically as I could. I’ve assembled some desktop PCs from spare parts, but that did not prepare me for all the little tiny screws and delicate parts that inhabit the innards of a laptop.
One trick I learned that helped more than you might think: I performed the repair while watching TV. No, I didn’t actually go from looking at the TV to looking at the laptop. In fact, they were in different rooms. But I sat watching TV until I felt ready to tackle another step. Then I’d pause what I was watching, spend ten or twenty minutes working on the iBook and go back to the television. Not the most efficient way, but the TV provided distraction when I was frustrated and more importantly took any time pressure off of me. As far as I was concerned, I was watching TV and taking breaks to work on fixing the iBook.
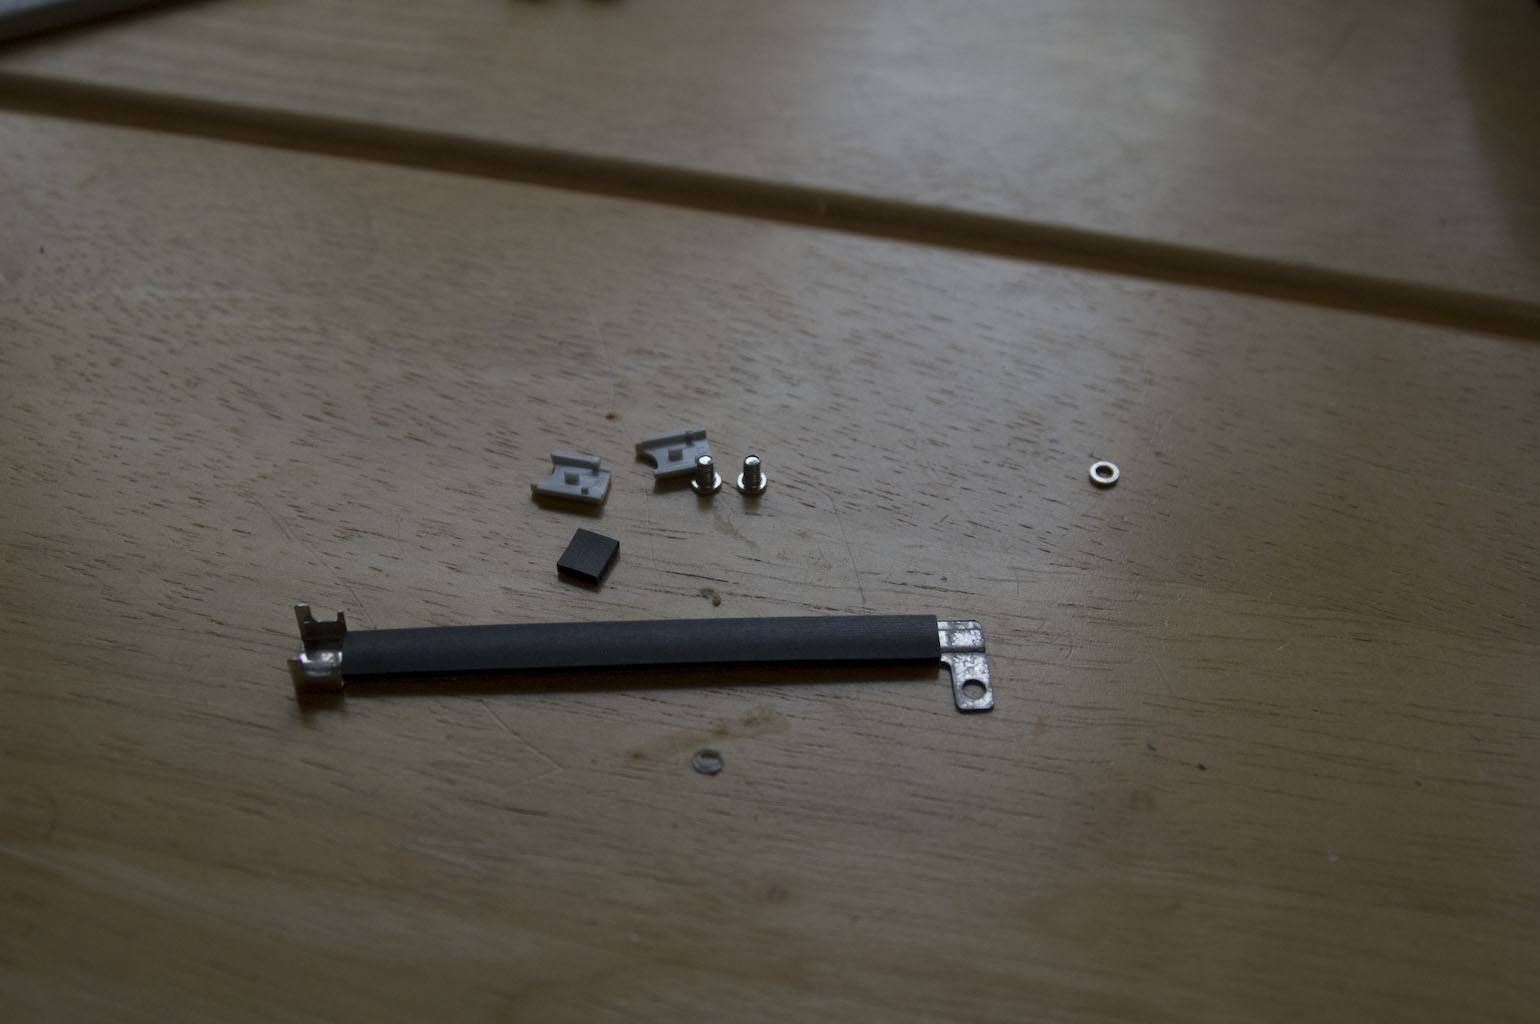
Eventually, it all came together again. When I say «all» I’m exaggerating, as I ended up with parts left over. They came out of the iBook but for whatever reason didn’t end up back in. I was dreading the idea of starting the procedure all over again, but once I plugged the iBook in and pushed the power button, what do you know? It turned right on.
I’m hoping that this means that the parts that never made their way back into the iBook were non-essential, but I’m hanging on to them for the time being. The iBook has been running fine since I performed the fix, and in fact I’m writing this post on it. The screen is no longer floppy. It stands up on its own no matter what position I put it in. The iBook is still an old G4 and the battery is shot (I get about twenty minutes per charge) but it feels solid and is a lot easier to carry than my desktop machine.
Not bad for fiddling around while watching TV, eh?